You may be wanting to pass out treats some time this season. Why not make one of these tags to tie on your goodie!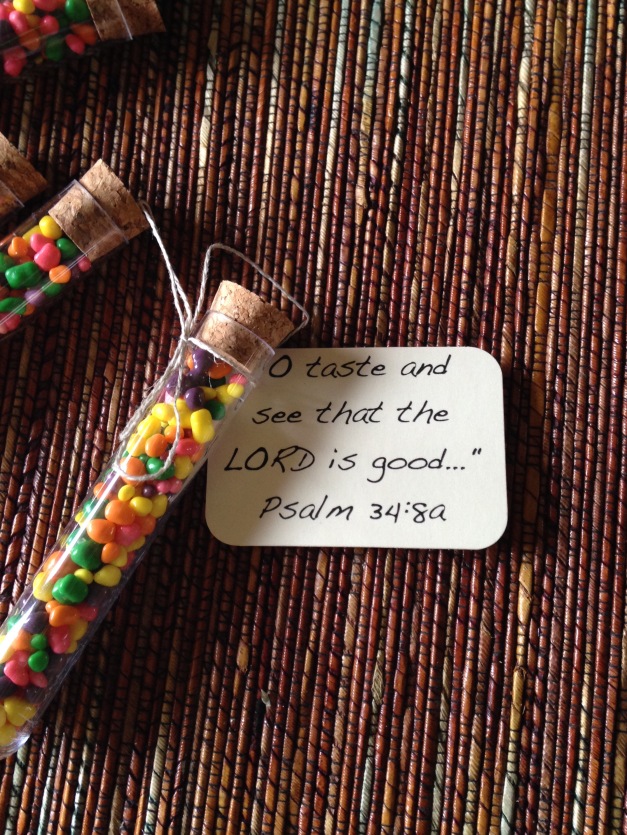
Free Bible lesson


Jesus before Pilate
Pilate said to them, “Then what shall I do with Jesus who is called Christ?” Matthew 27:22
Teaching the Passion week and decided to add this scene utilizing the cardboard theater. Praying all of my kids can answer this question!
I used the famous painting by Antonio Ciseri to give me ideas for this sketch.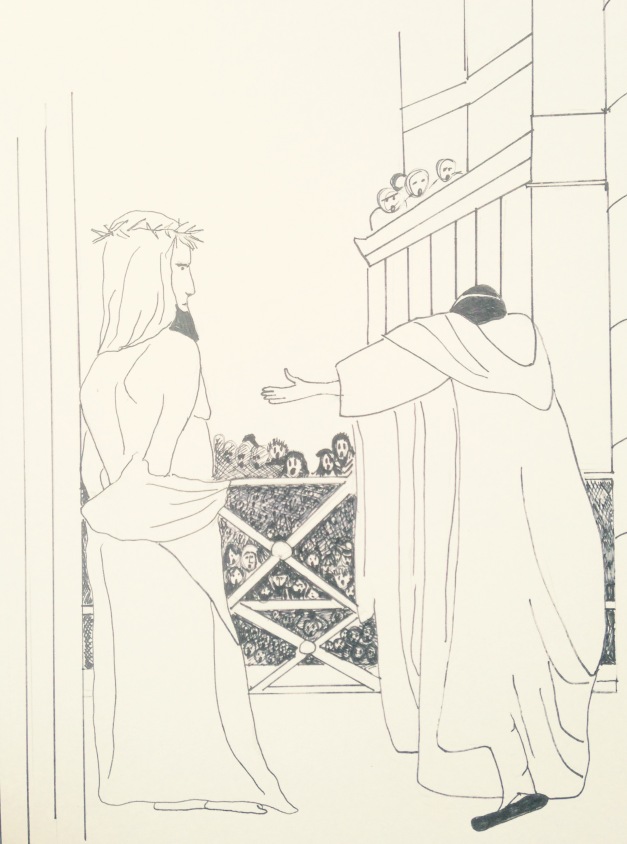

Making a cardboard theater
This is another option for teaching your Bible lessons using an easy tool you make yourself. After choosing your story (I will teach Noah and the flood) determine what scenes you want to highlight with figures and scenery. You may copy worksheets on card stock for both. I chose a small cardboard box, 10 inches wide by 7 1/2 inches tall. When the top flaps are fully extended it is 12 1/4inch tall. Tape the flaps up with a heavyduty tape like packing tape or ducktape. You might want to cover your tape by gluing contact paper over the sides and bottom. I use a good tacky glue to give good adhesion. Now you will want to cut out your opening. Mine is 7 1/2 inches tall by 8 1/4 inches wide so I am able to utilize my worksheets for scenery.

top view of theater
Only cut the sides and top for your opening. You will gently fold down the top to form the stage. Glue down a piece of felt after taping securely.

view of stage and covered sides
Next you will cut some slots for the scenery.  Your scenes can be glued to a piece of card stock and then stapled to a cardboard ruler…. you can also have a different scene on each side of the card stock.

Place your scenes in the slots you have made. Hopefully they are even so your scenes hang straight.

scene placement
Cut out figures and attach them to a craft stick or reinforced cardboard “sticks” (see below). If you don’t reinforce the cardboard it will bend and become floppy. You can keep all of your pieces in the back of your theater. You might want to also make a curtain which can be made of paper or material. They can be any length but you do not want them to interfere with your side slots. The pleats can be simply stapled on the sides In the photo below I have inserted waves which are glued to cardboard.

I would like to welcome you to the companion blog of aunties bible lessons. I just posted over there a blog on how to write a new lesson using old bits of things I have posted over the years. I used this technique myself with the Sunday School lesson last week when I wanted to contrast the First Advent of Jesus…with the Second Advent. ( WordPress has changed their format and I am not sure how it works so please bare with me as I work out the kinks and look for any new posts at aunties bible lessons)
I am sorry that I have to send you to another site (aunties bible lessons, and scroll to the table of contents for both old and new testaments posted on Jan. 6, 2014) but that would be the easiest way to get all of the past bible lessons to see what is available.
First, I cut out a picture of baby Jesus and then I cut up a lesson I did on the second coming entitled “Behold, I come quickly”. You need to determine if you want a half sheet or full page work sheet. Tape your cut-outs on a white piece of paper and then copy with your copier. If you are doing a half sheet you will need to copy another page and put the two together. 
You need to figure out what verses you want to use and if you want the kids to write them or if you want to annotate with a computer or handwrite them. Ask the LORD what He wants emphasized ….This will need to be completed before you make your final copies for your students. You can save one copy in a notebook with a completed sample for future use. Have fun coloring your sample worksheet and don’t be surprised if the kids want to copy your technique.

Adding verses and putting two copies together on one page

Coloring your “sample”
Tips: I copy most of the worksheets on card stock. This is very sturdy but also more expensive. The kids get only one copy so they are admonished to be careful. Most mistakes can be fixed with tape and white-out!
Please join readers of Aunties Bible Lessons for the opportunity to win a set of worksheets for all of the stories I have posted since summer of 2011. To be eligible you must currently be teaching kids the Bible and have a real need for a set. If you work under the authority of a children’s director or pastor you would need to have my materials approved by them prior to your request. Email me a letter at bibleauntie@gmail.com and include a photo if you can. Tell me why you would like a set and a little about the ministry you are involved with. The deadline is August, 31, 2015. I will pick the winner and post your letter on this blog. The worksheets will be printed in English but I can always send you “white-out” if you need another language. God bless, Bible Auntie

Robes of Righteousness

Adding verse (10) Most important step!

Fold yoke up (3)

Cutting sleeves (1)

Sleeve cut out (2)
Now on to the sleeves. Basket coffee filters make good sleeves. Note line where you need to cut. (1)
This is what it will look like cut out. (2)
Fold yoke up. (3)
Its a good thing I am numbering these because the photos are not going where I want them.!!!
Slightly fold up the edges of the sleeves and apply glue (4)

Apply glue (4) to edges of sleeves
Now you will carefully match up the seams and press together. Do it on each side. This paper is more fragile so take your time. Now you will make a small dart by folding each sleeve forward. This gives the shoulder a nice shape (6)

(6) make slight dart , folding forward at each sleeve.
Use some of the extra pieces of your cone filter to make a trim for your neck…folding and gluing so there are no raw edges. (7) The bottom of the yoke goes folded up and glued also.

Trim at neckline (7)
Tape all of the backside so nothing comes loose. Packing tape works great for this (8) Remember to do this before you attach the sleeves or they will get squished.

Tape back (8)
Glue top to bottom, folding and gluing neckline and yoke. Dab glue at underarm to anchor top and a small dot to set the bottom of each sleeve. Take a pencil to give your sleeves some poof!

Gluing top and setting sleeves(9)
Now for the most important part…have your kids write the verse you have selected from the lesson which you can read at “auntiesbiblelessons.wordpress.com” (10)
If you have a hard time following my instructions…find a video on YouTube and do a search on “iris folding”. That should help.
I must apologize for this post as I am using an iPad as my computer is in need of repair.

Robes of Righteousness

Plain center
The lesson portion can be read at “auntiesbiblelessons.wordpress.com” The instructions are here because of the available media space.
It is important that you make one of these ahead of time or you will not be able to tell the kids how to fold properly. As I mentioned on my other blog, it is designed for older students.
1. Print a pattern on card stock for each student. It w

Add more pleats
ould be a good idea to use another color so there is a good contrast with the white robe.
2. Lightly tape to a magazine and carefully cut out entire robe with
a sharp craft blade. These should be prepared before class so there are no cut fingers!

2. Cutting the outline of the robe
A3. Place tape in space. 3a. Tape robe pattern in center of space


Now you will need to cut your white coffee filters. I used cone and basket filters. Decide if you want to utilize the groves in your design…it is a little more difficult. Separate your filters. Note: one section tears easily.
4. Cut one inch strips. Number lightly with pencil in top edge. These will be trimmed and not show

5. Start with number 1. Fold and place fold on line. Tape each end securlely with magic tape…you do not want tape to show so only tape in places where you won’t be placing strips.

5. Taping folded strips
6. Fold and tape in numerical order always placing folds towards the center.
 7. When you complete taping your strips, loosen tape and turn project around. You can leave the center plain (photo above ). or add more pleats. (Photo also above….don’t ask!!!!!!)
See part 2 for sleeves.

Adding the pleats
Readers of “KidsBible” are also invited to participate in Bibleauntie’s first “give-away”. Email me sometime in the month of July and let me know how you would benefit by having a printed set of all of the Bible lessons offered at “bibleauntie@gmail.com”. I have all of the originals and have made sets in the past to give to teachers in rural settings that did not have access to good material. For more Bible stories see the Table of Contents at “aunties bible lessons” …my other wordpress blog.
Meet my new girls…very sweet but they are pretty skittish and will not let me lead them anywhere. I have a large pasture full of juicy weeds they could be joyfully browsing on but until they learn to trust me they will be forgoing a favorite treat! Do we sometimes miss out on the treasures our Good Shepherd has for us because we are not willing to be led?
-

- “He leads me…”

Two Men Went to Pray-a
You will need cardstock to print the worksheet for this lesson. Separate the page and cut out both pair of arms after coloring them. It can be tricky to match them up…I suggest using a small scissor and cut all around except the knuckles and fists. Hold them up to the light to match as close as possible then glue and trim. Be sure and check both sides before you glue or you might end up with a poor fit. 

a bad match
 (Before class, use a sharp craft blade and precut 2 slits in the worksheet where the arms will go inserted after the glue has dried.
 The kids can now act out the humbling posture of the tax collector by flipping the back tab.

“Be merciful to me…”
(Cardstock makes this possible…regular paper will be too limp) If you have young kids you will have to probably cut out the arms and glue them. Trim them and they can finish by coloring the page before you insert the arms into the slits, “knuckle-side” will flip up…”fists” will flip down. Colored chalk is recommended for coloring the background of this project. If you make one of the worksheets up ahead of time, it is a lot easier to give instructions and you can use it to help teach the story.

Two Men Went to Pray – worksheet with text

Without text
***********************************************************************************************************************
***********************************************************************************************************************
If you are new to the blog….WELCOME….for a complete “Table of Contents” of all of the New Testament and Old Testament stories available, you will
want to go check out my other blog “Aunties Bible Lessons” and scroll through the archives of Feb. 2014 for a list.

Woman at the Well
Welcome to the companion blog of Aunties Bible Lessons. Here are the worksheets and instructions to teach “The Woman at the Well”
After printing the worksheet and coloring it, the only other materials needed will be 12 inches of twine and some tacky glue. I put some glue on the end of the twine that gets glued to the top of the woman’s bucket. This gets trimmed a little, and will ensure that the twine does not fray.

Woman at the well, no text
If you look carefully, you will see a little loop attached to the middle section of the well…this is where you want to glue the other end of the twine…cutting if necessary.

twine detail

Woman at the well – wkst with text
If you have access to internet, there is a very good scene on You-tube from the 2003 movie “The Gospel of John”. I recommend this for your own enrichment. This story does have adult themes as the Samaritan Woman was living an immoral lifestyle. I stress the fact that Jesus made a special trip to this region to give this woman the Gospel…to teach her that the true worshipers of the Father will worship Him in spirit and in truth.
